Table Runner

Today I was a little intimidated to bring out my sewing machine. My machine that has had at least 3 generations of use. The one that I haven’t touched for over 4 years. Thankfully because I am so diligent in making sure my things are put away properly (Thanks Daddy!) all the pieces were there and in working order with little (to no) searching.

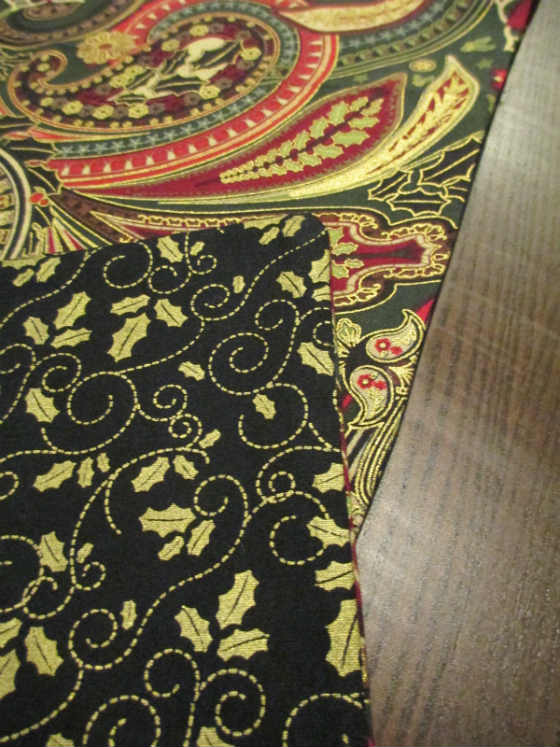
Off to Joanne’s i go to find some holiday fabric from their fabric sale.  I chose complementing patterns that were not over the top holiday patterns. Amazingly enough I even remembered to get thread while I was at it so I would have something that matched. I was proud of myself. I bought 1/3 of a yard of each fabric.

So home I go, and I pin my fabric together. Like Sides to Like sides. Run about a 3/8th seam around the edges, leaving a small gap to be able to turn it. As I was sweing along, the machine warmed up, and so did I. The bug never goes away. I felt the energy from decades of love for the craft surround me and within 10 minutes – I was done.

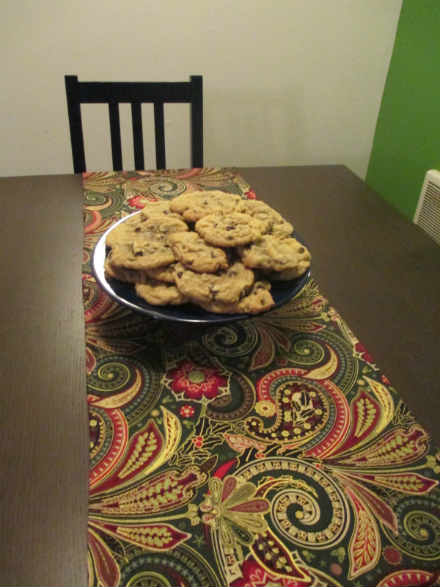
I turned my fabric right side out, and ironed it very carefully. All that was left was a quick sew of the gap. Ran in Iron over it a few more times, and onto the table it went!

034035

So to celebrate I made some Chocolate Chip Cookies! (From Scratch, of course)

001

Trivets are Fun and Easy!

Anyone who knows me, knows that I love Wine!. I love that I live in the middle of wine country, and I work in a wine bar!. It seems that despite so many Winemakers switching to screw top bottles, I still have an endless supply available to me. One simple project is to make a trivet. There is no set shape it has to be, and it’s a fun decorative way to keep your counters and table tops safe. By wrapping them in ribbon you can hide the glue splotches and incorporate them into your decorating scheme.

The Trivets are easy to make. You can gather your corks and lay them out in your chosen pattern to be able to experiment with them until you are ready to glue them together. Once you have decided on your design, use a hot glue gun to run a line of glue down the side of your cork. Press your second cork into the line of glue and hold it a few minutes until it sets. Make sure to glue all the sides of the corks that are touching each other. Since the outside will be decorated, you just need to make sure they are pressed together as much as possible. Once your trivet is built allow it to set for awhile to be able to check for weak spots. Once they are set it’s time to decorate them!

I have been trying to make my house more festive for the upcoming holidays, so I chose some Christmas ribbons to experiment with. I must say i am very happy with the results! I found that working with wider ribbon is much easier if the edges have Wire in them.

 028030

You will need to hold the ribbon in place and let it set for a few minutes before moving on.. If you do not let it dry enough so that you can put the ribbon tight, you will end up with a bubble or two – like I did in the above picture with the Trees! Once your project is finished, the little mistakes give it some character.

029

Once it is all done, it is normal to have strings of glue pretty much all over the place. Those will peel off quite nicely and will not undo your project.

031032For the time being, I found a place to display one of my trivets. I can’t wait to use them!